
Dedicated to the Promotion and Preservation of American Muscle Cars, Dealer built Supercars and COPO cars. |
|
|||||||
| Register | Album Gallery | Thread Gallery | FAQ | Community | Calendar | Become a Paid Member | Today's Posts | Search |


|
|
|
Thread Tools | Display Modes |
|
#261
 11-29-2015, 09:59 PM
|
||||
|
||||
|
I was tightening up the lower heater hose clamp to the water pump today on the 73 SD Formula and had to remove the 80 amp alternator idler pulley assembly in order to get to it. So I finally got a photo of the EUN (Engine Unit Number - not to be confused with the VIN), on the front of the block that is hidden by the idler bracket. The car was ordered by Enrico Stein on 05/09/1973, shipped on 07/19/1973 and delivered to him on 07/31/1973.
Here you go:  
|
|
#262
12-12-2015, 11:29 PM
|
||||
|
||||
|
Since we are looking to get the car judged in the Vintage Certification next year I figured it was time to put the original brake parts back on.
When I got the car, the master cylinder was leaking internally and I sent it off to Whitepost Restorations to be sleeved and rebuilt. They offer a "survivor" service where they don't touch the external finish if you alert them beforehand. They did a wonderful job on the master cylinder which then led to me find out that the two rear wheel cylinders were leaking/stuck in the expanded position. Not a good thing if you want working brakes. https://www.yenko.net/ubbthreads/ubbt...opics/539528/9 Just as a quick fix to get the braking system fully operable last year, I bought some new brake cylinders and swapped out all the shoes, springs, and the offending cylinders with the idea that they were only going to be temporary while I cleaned the original parts and sent the original cylinders to Whitepost. After a year or so...I finally sent the cylinders off just last week. Within two days I had them back all pretty and nice. They do really nice work with a quick turnaround. One interesting thing I noticed is that they are the same part number but slightly different castings since one has the "7/8" straight across and the other has it angled. Also the bleeder screws are slightly different as well. Here is what they looked like in their leaky state:      And when I got them back: 
|
|
#263
12-12-2015, 11:48 PM
|
||||
|
||||
|
I took all the original springs and soaked them in some detergent to get the adbestos dust off them and also scrubbed the original brake shoes as well. I then reinstalled everything today and bled the brakes.
One interesting thing to note about the assembly line installed shoes is how the bonded front shoe is grooved with a 1/2" slot down the center of the lining. The steel portion of the shoe appears to have a green zinc chromate finish on it. (it is kind of hard to tell from the photo since I used a flash when taking the photos).     And with the drums back on. Each drum had two copper Tinnerman clips holding the drum onto the studs. The passenger side drum also had a "GY" sticker on it.   It also looks like the brake drums are date coded "6 2 73" and "5 30 73".  
|
|
#264
12-13-2015, 10:21 PM
|
||||
|
||||
|
Today I put the original front brake pads back in. The originals are riveted. The front rotors have a really deep factory depth groove that left a matching peak in the pad. Disc has date code of "G 7 3" (July 7, 1973) FYI: the car was shipped on July 19, 1973.
(BTW, the car doesn't stop nearly as quickly now with the original brake pads and shoes as it did with modern braking materials. [img]<<GRAEMLIN_URL>>/eek.gif[/img]) Driver's side:     Passenger side. Disc has date code of "G 9 3".    
|
|
#265
12-13-2015, 10:51 PM
|
||||
|
||||
|
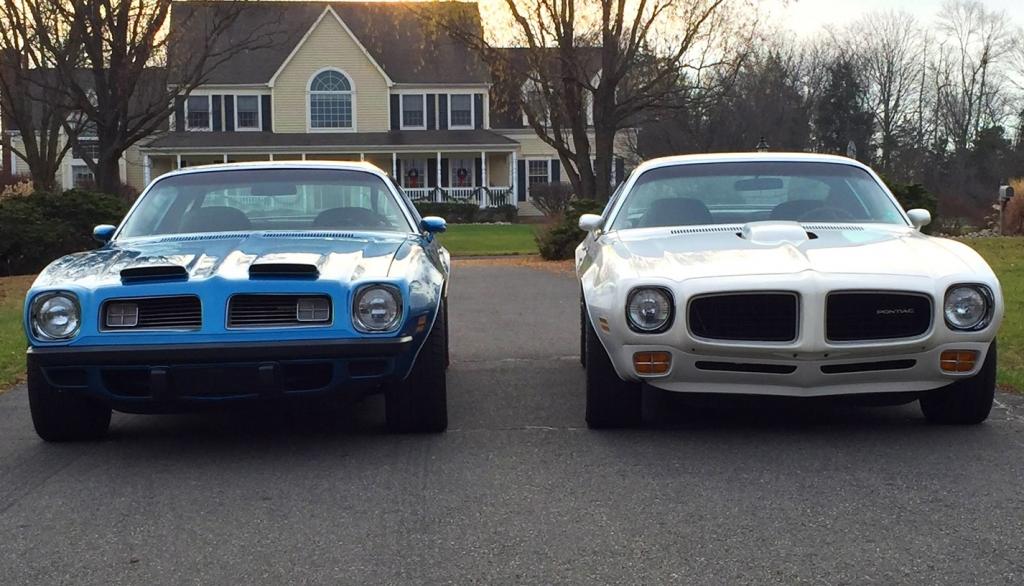
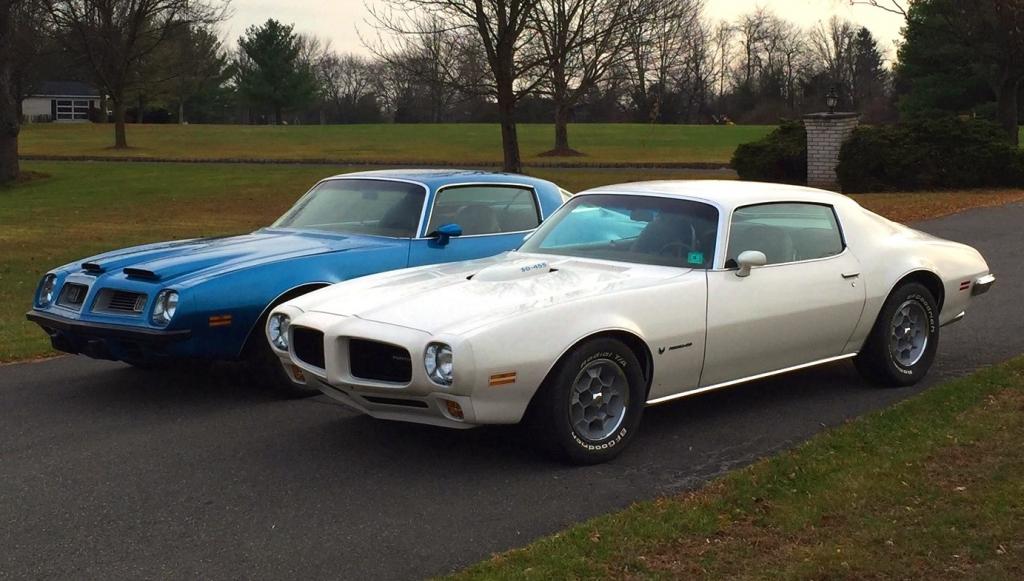
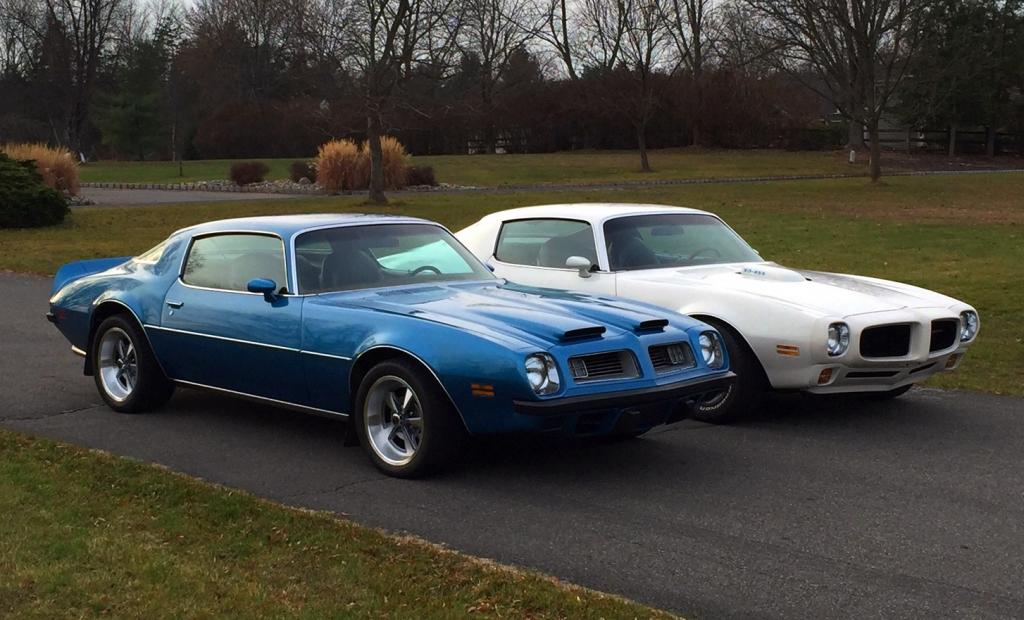
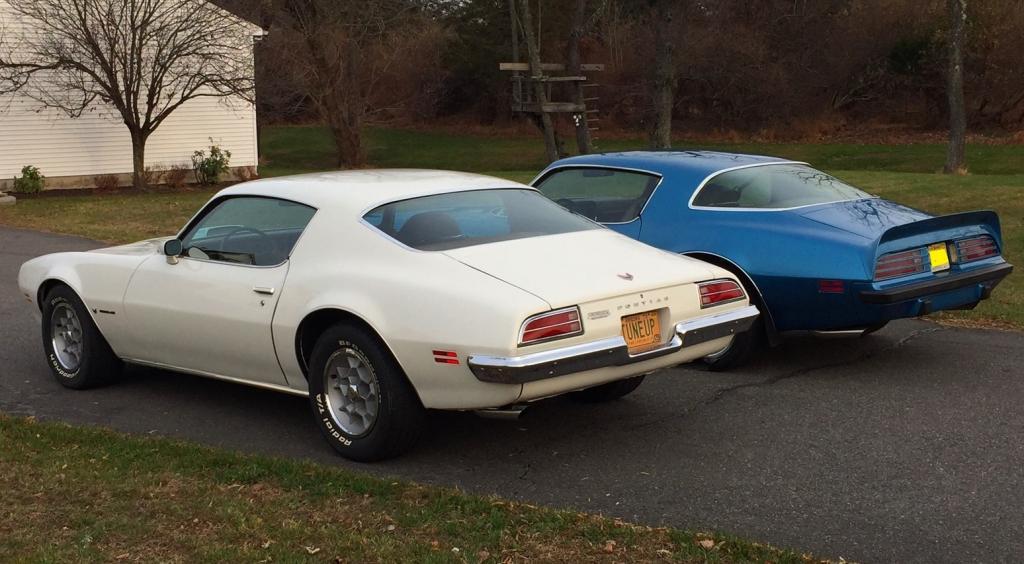
Since it was a record 70 degrees here today, after working on the cars and cleaning the garage, I decided to get a photo of our two
|
|
#267
01-22-2016, 02:31 AM
|
||||
|
||||
|
Rick's wife Lenora sent me a link to some of Rick's past accomplishents in 1965 with his racing boats. Check out this page of Rick reminiscing about some of his record-breaking watercraft from back in the day - including the L/88 powered rig.
http://www.nationalpowerboat.com/1965-alima-run.htm
|
|
#268
05-07-2016, 08:35 PM
|
||||
|
||||
|
Time to start gently cleaning the car up for the Vintage Certification next November. Up on some truck jackstands so I can get some room to wipe things down on the underside.
 I took out the driveshaft to properly clean it up. Here's the before photo. All I am doing is carefully cleaning the grease and dirt off the flanges and then maybe a soak in the Evaporust to see if it cleans the surface rust off the shaft.   Here is something interesting: Two different style flanges and two different head markings on the bolts.  Here's the soaking tub. A section of plastic gutter lined with heavy poly sheet to hold the liquid around the driveshaft: 
|
|
#269
05-07-2016, 10:00 PM
|
||||
|
||||
|
The evaporust didn't do much on the driveshaft, but did clean the front yoke a little. I think it has lost its power after sitting for a year so I ordered some more.
|
|
#270
05-14-2016, 03:00 PM
|
||||
|
||||
|
I rigged up a better method of soaking the driveshaft without damaging the original paint stripes in the center. These stripes are very fragile and definitely not an oil-based paint. I think they are latex based as they are very sensitive to water. I pulled the soaking driveshaft out of the plastic gutter-based soaking rig as soon as I saw that it was affecting the stripes. This is what I came up with: A 4" wide PVC pipe with one end capped off, tied to my garage banister. The driveshaft fits perfectly inside with 1/4" to spare. I filled it with evaporust a little at a time and would lower the driveshaft down into the tube to see where the water line was. I settled on 1" below the stripes and let it soak for several hours on one end. Every hour or so I'd pull it out and wipe the rust residue off the surface. Once I was happy with one end, I flipped ends, readjusted the liquid level and did it again. It took very little evapoprust to do the process - less than one gallon, as the driveshaft takes up most of the space in the tube.

|
|
|
|


 Linear Mode

