As we discussed early on during this build, everything on the car will be functional. Convertible top, side windows, wipers, and one of those things that I plan making functional is the heater and fresh air system. Sounds easy. Agreed. Well, its not.

Of course Im not sure what exactly is on this car. I know based on my photo archive and such that the heater plenum on the cowl connects to the fresh air intake on the cowl. But hows the whole thing work?

I was fortunate to have access to several restoration photos and owners sharing info with me and heres the jist of it; Air comes in from the cowl and gets routed through the plenum to the heater fan box and then is distributors to the footwells and defroster vents. The air enters the plenum and curves upwards and then downward. Theres a flapper door inside the plenum which closes the air off if one doesnt desire to smell the sewage plant you just drove by or the guy ahead of you hasnt change plugs in his 1976 Datsun since, well, 1976.

Meanwhile, any rain is captured at the bottom of the curved plenum and blocked by a little dam and then drained to the cowl via three drain holes. Easy-Peary!

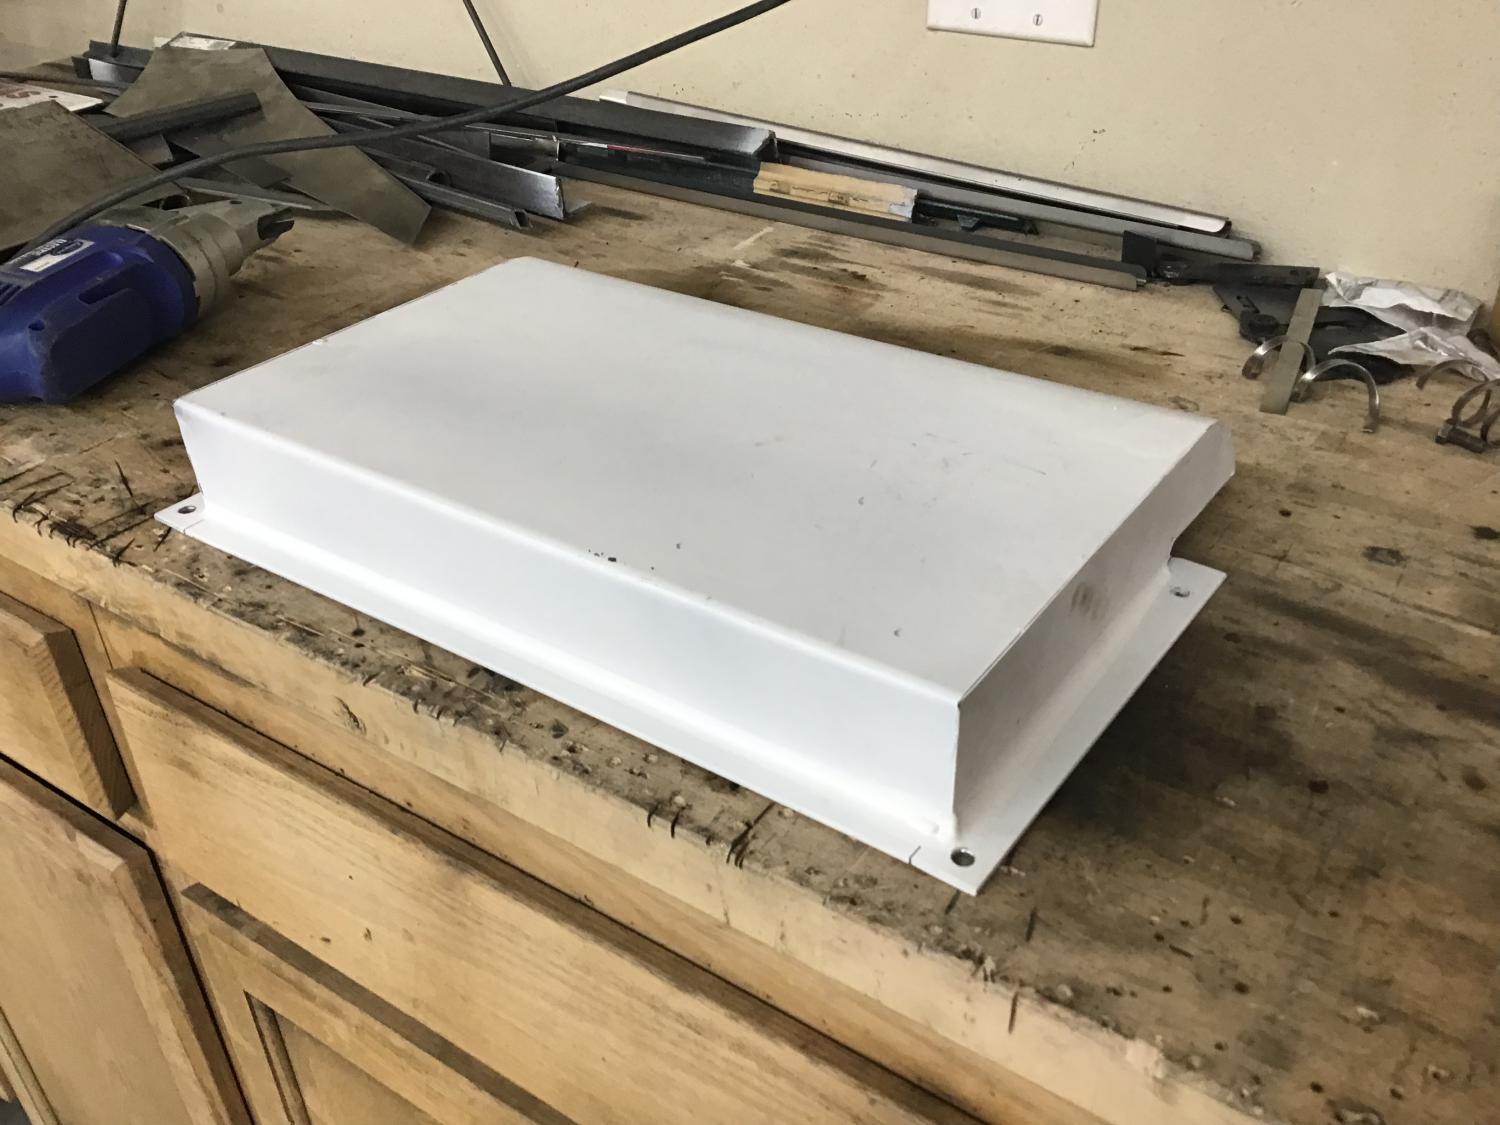
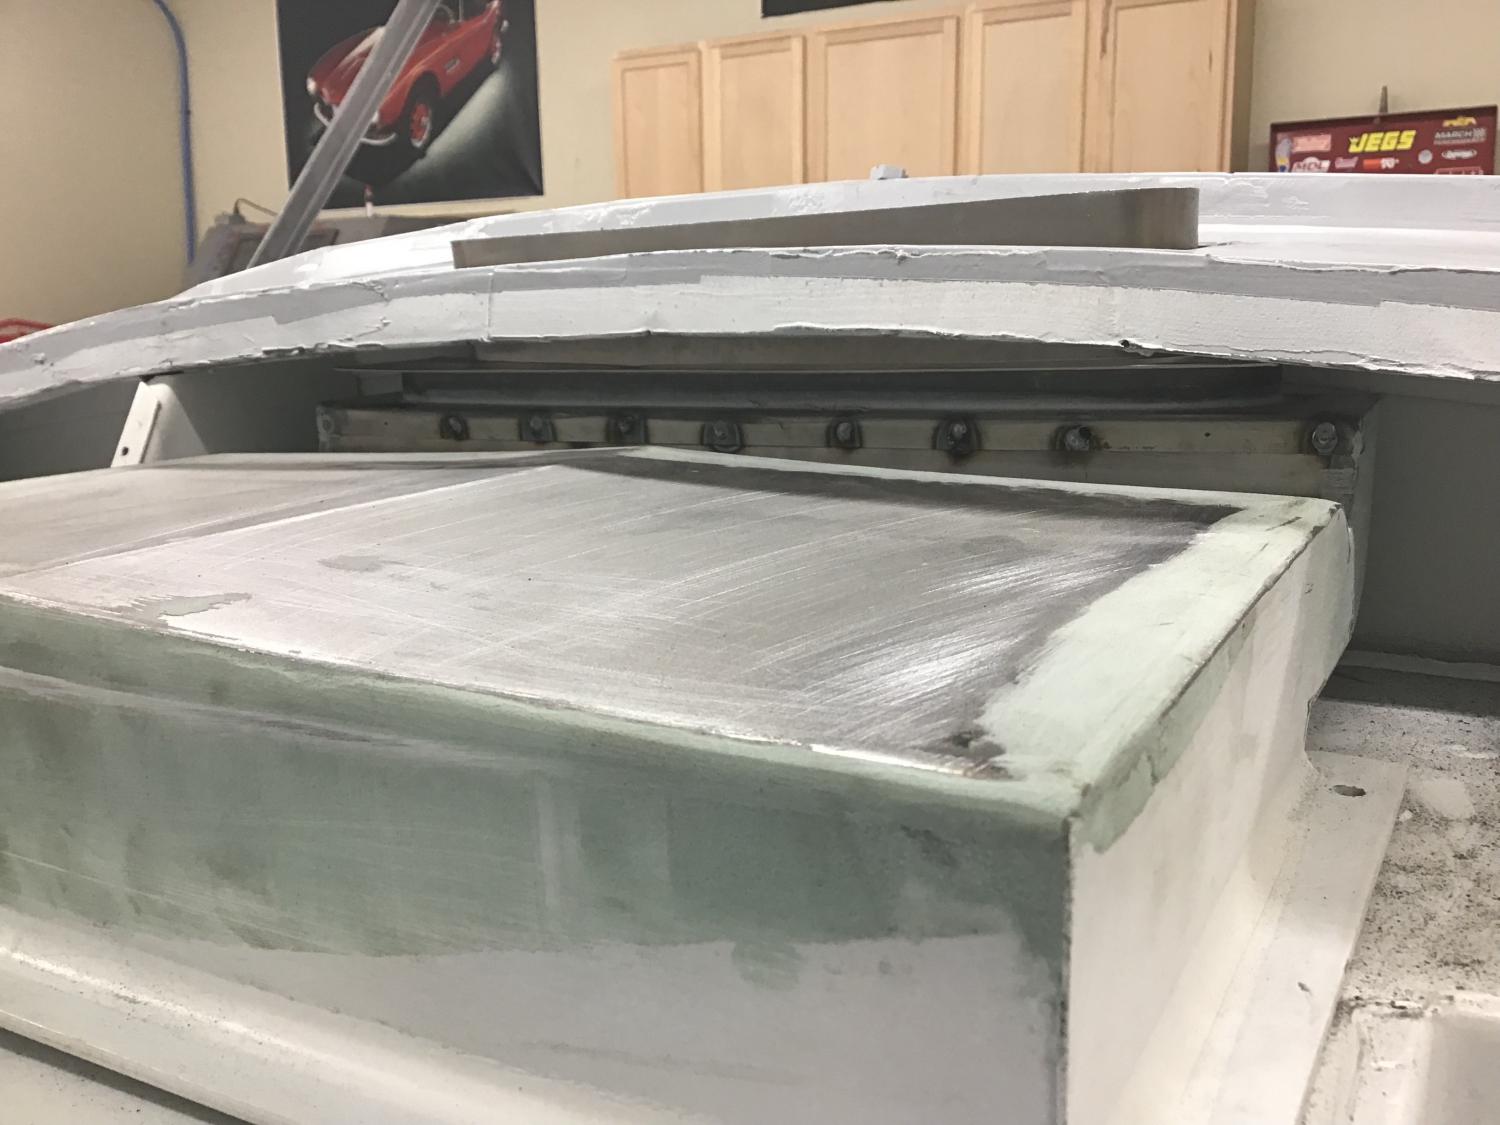
I had already made the firewall cover box but had not made the intake plenum. I also notice an error on my box. That doesnt sound right.

I noticed a fabrication detail error on the cover of the heater plenum.

Theres a very slight peak at the center and its not perfectly flat which is what I made. Who would notice? Nobody. Who cares? Me!

So I set out to make the corrections to the heater plenum and make it not only more correct in design, but also functional. Does anybody know what time it is? Its HEATER BOX PLENUM TIME!!!

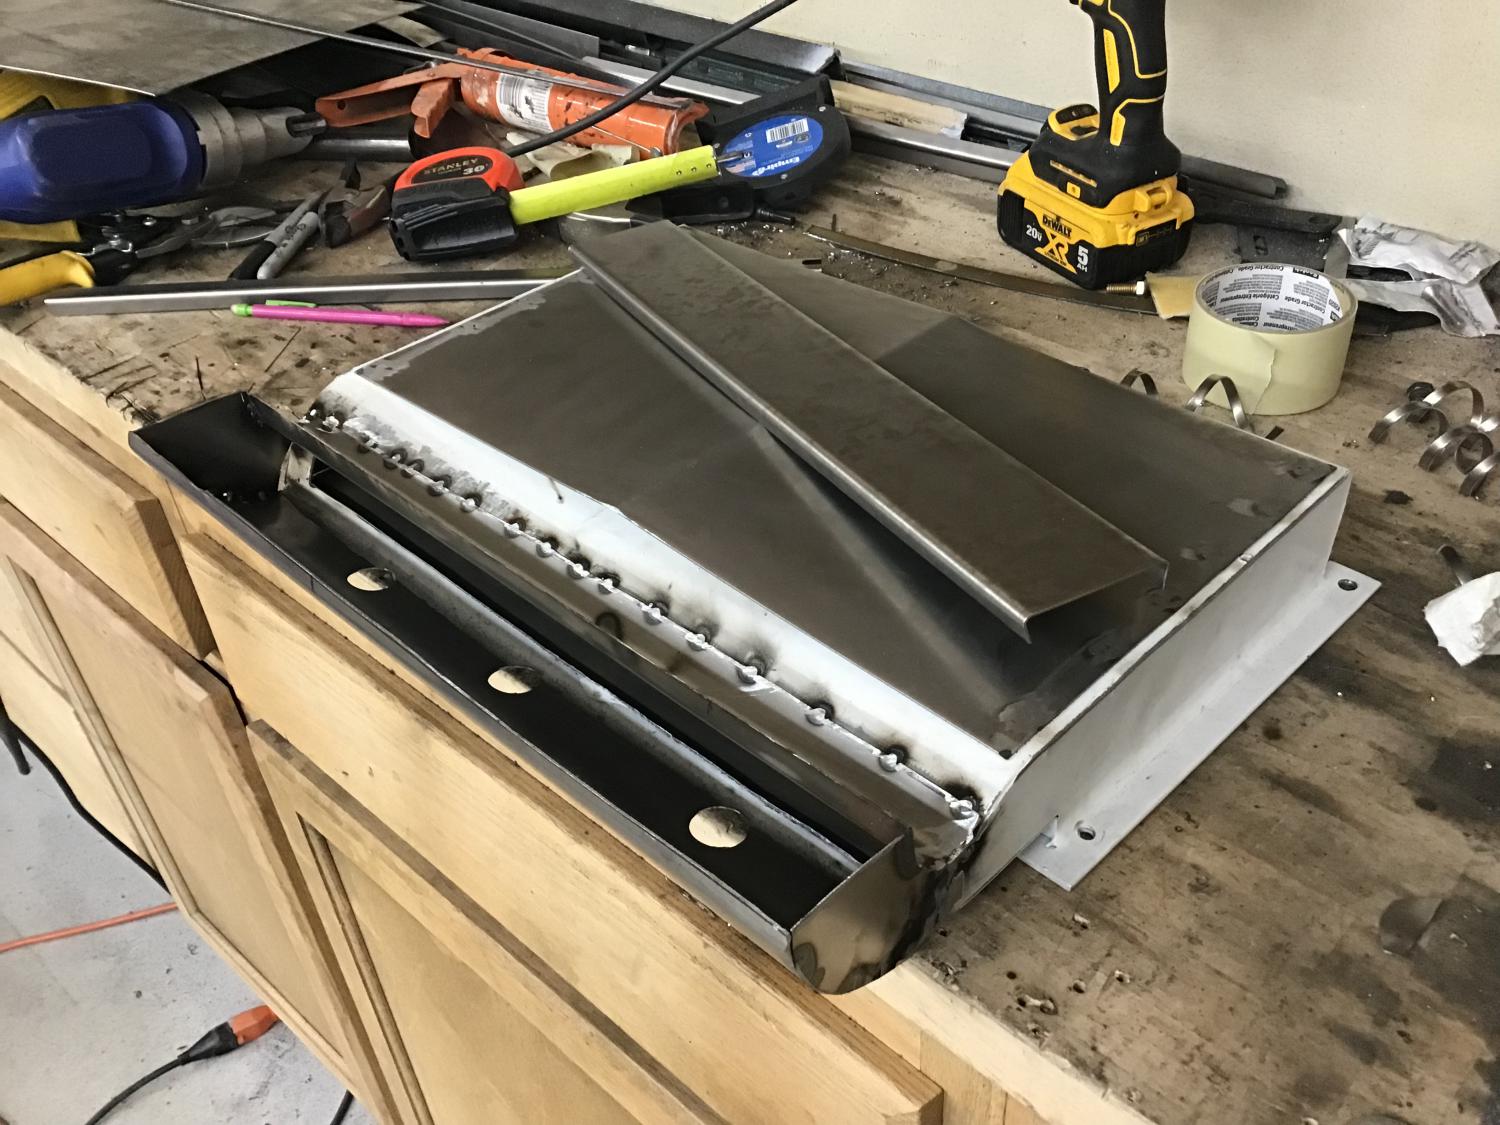
Step one was to get the plenum onto the work bench.
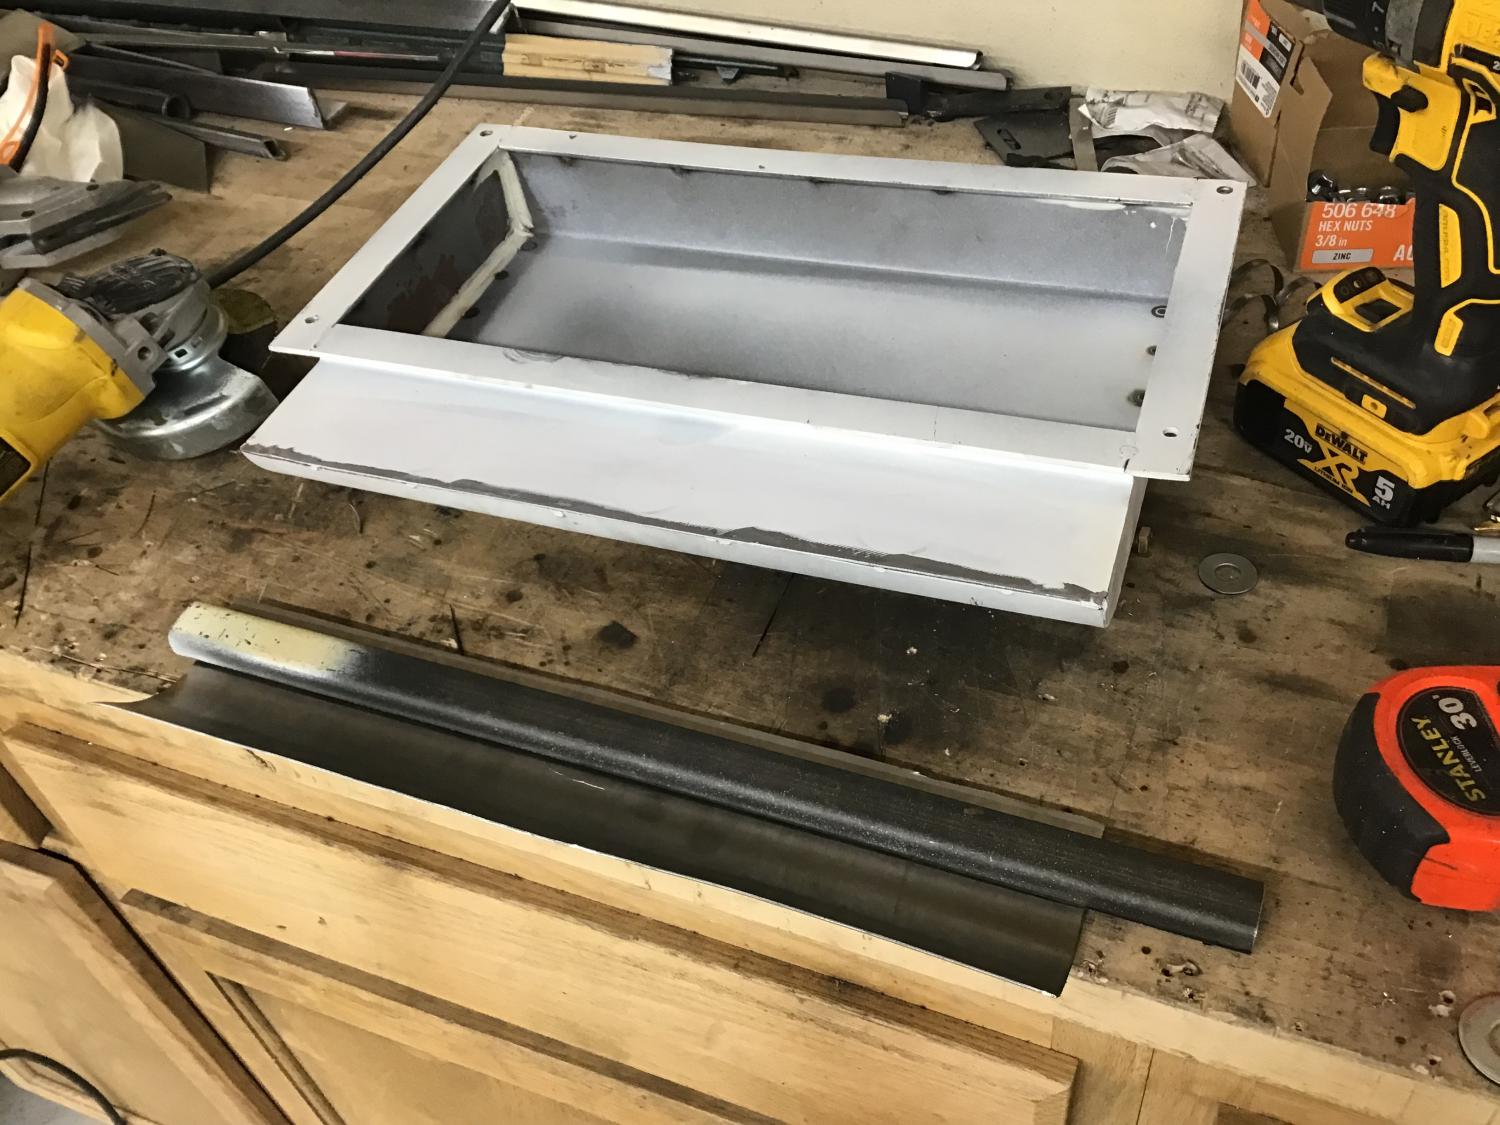
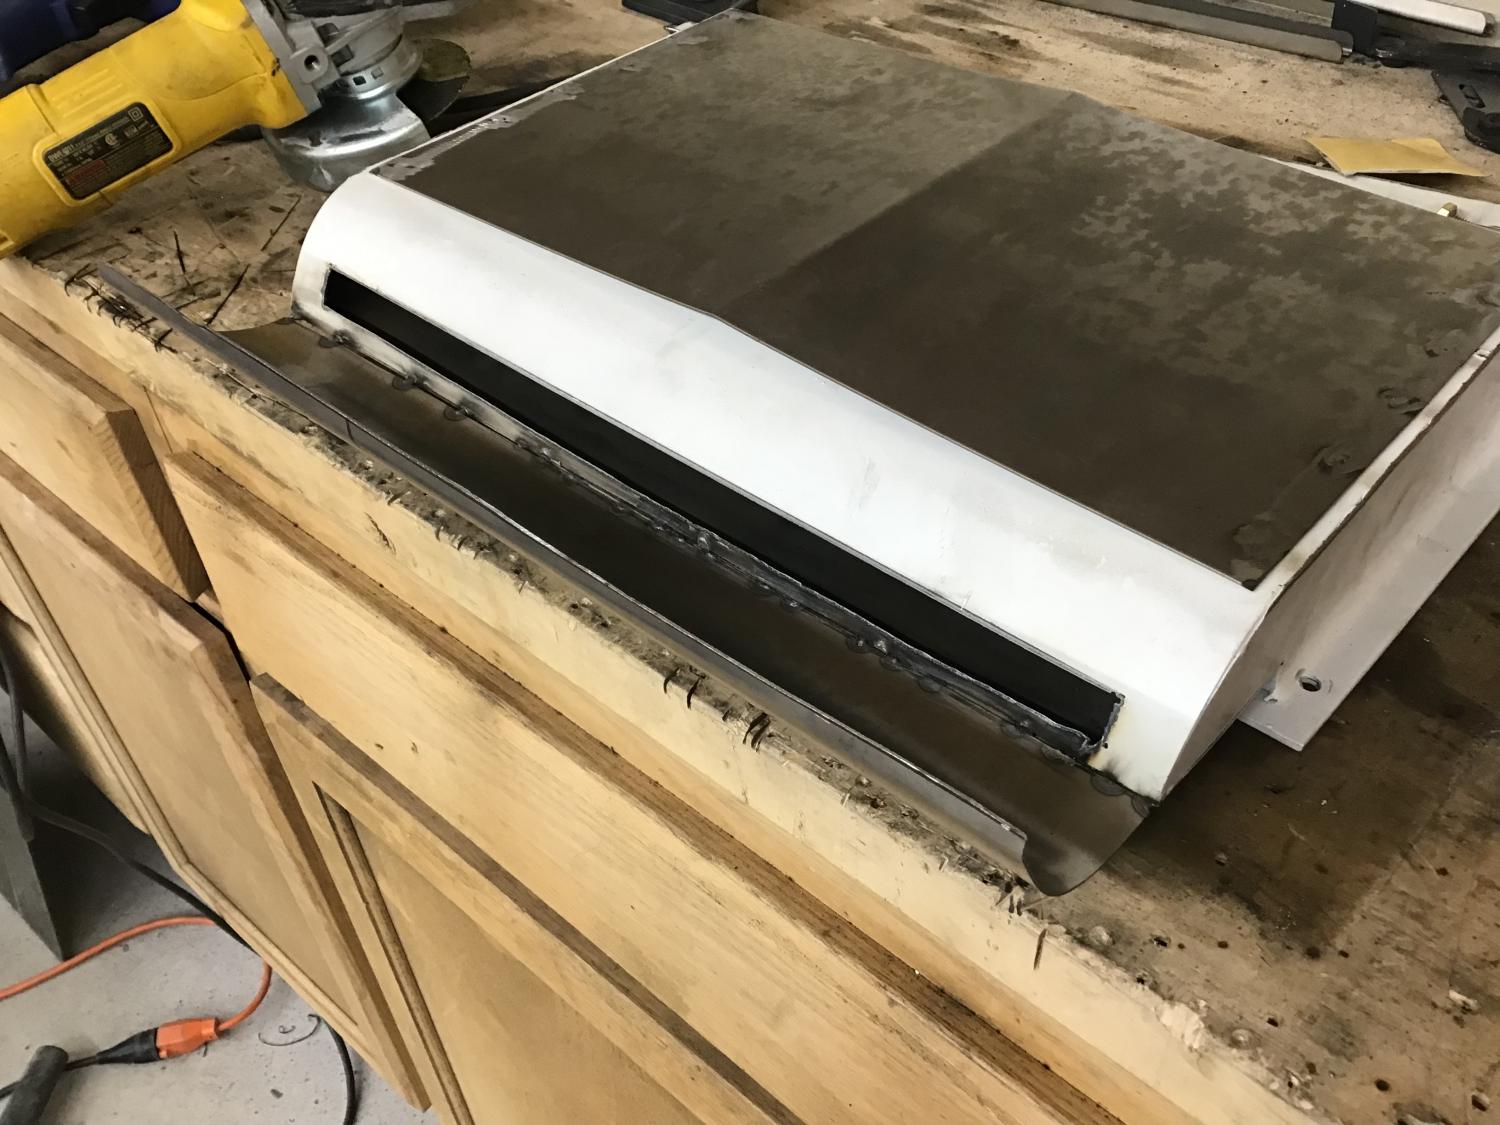
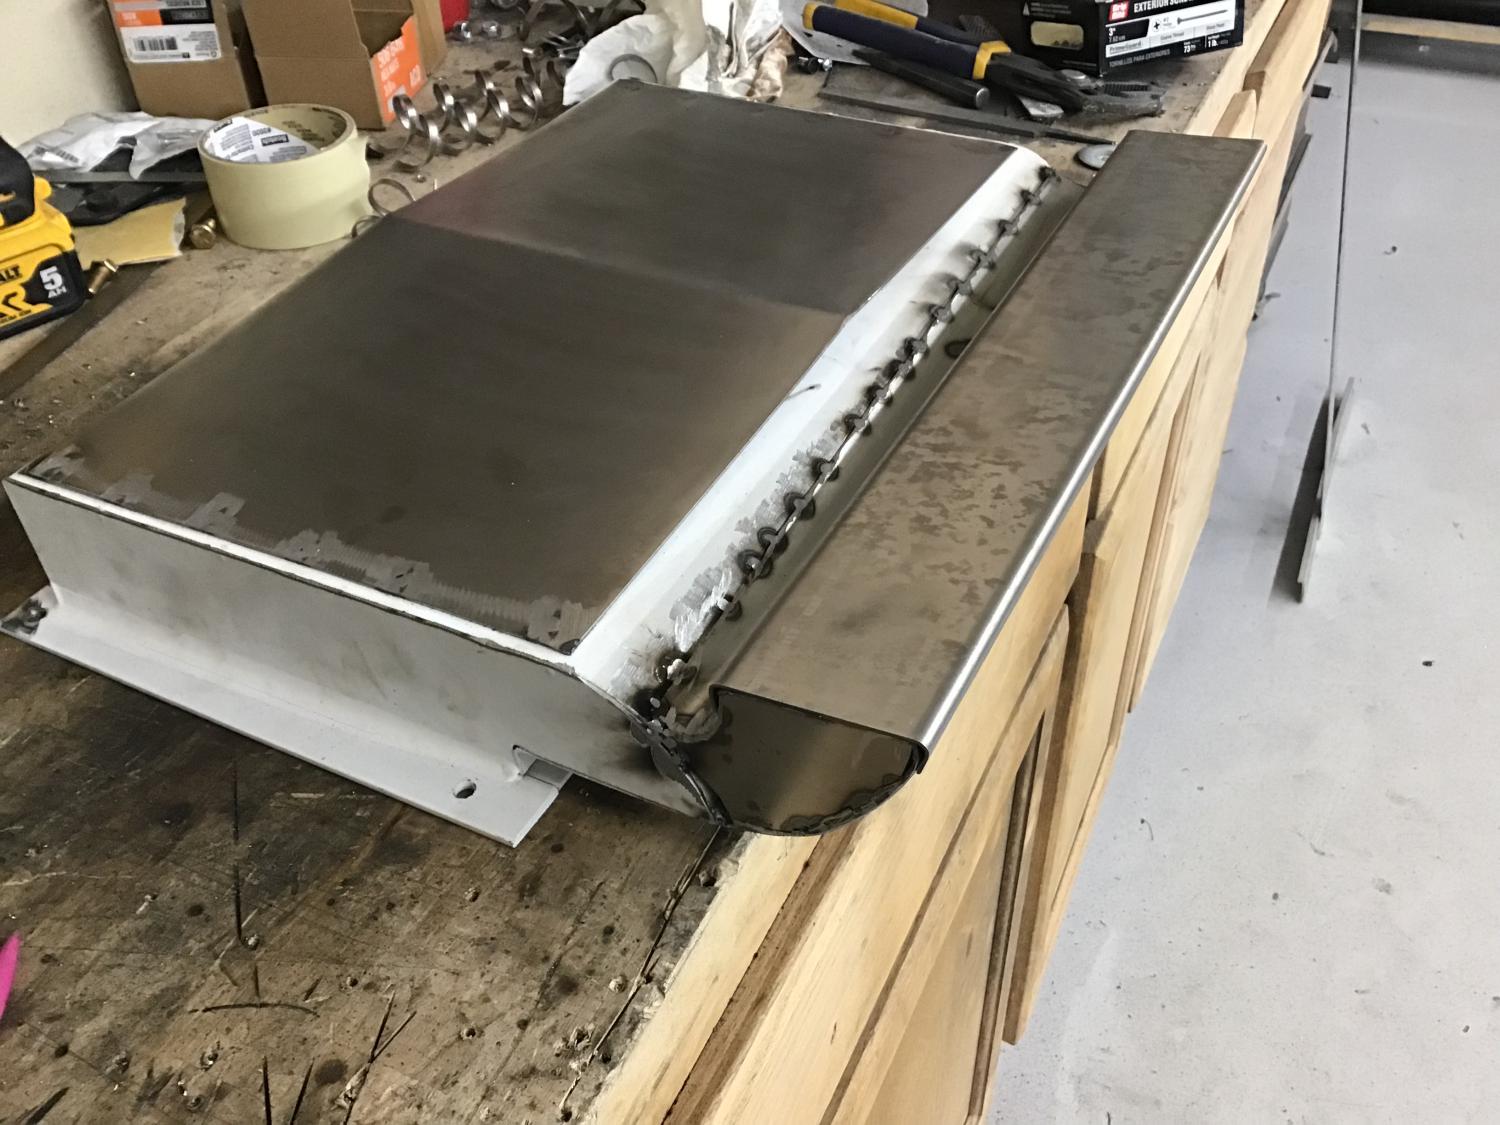
I then formed a top piece and added that to get my slight peak that the original has. Too steep and it wouldnt look right. Too shallow and it would be a waste. This came out perfect! I then positioned this where the cowl opening was to measure for the rear of the plenum.

Then I added the other curved parts to make sure the plenum lines up with the cowl opening.
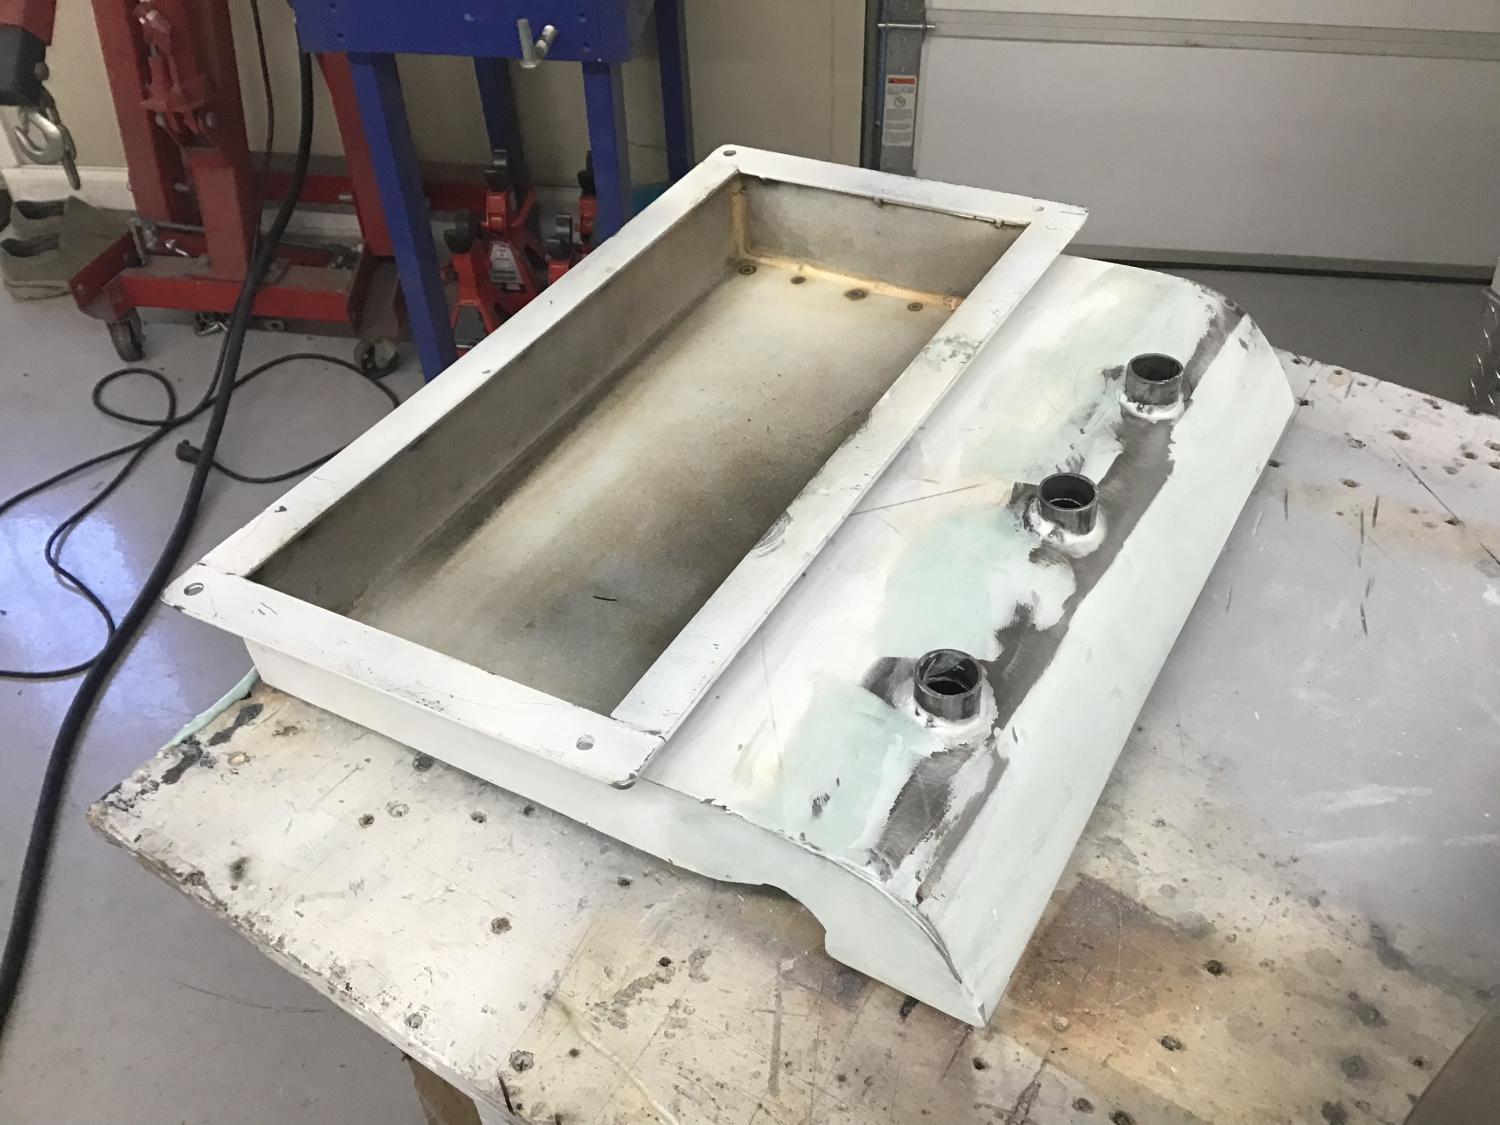
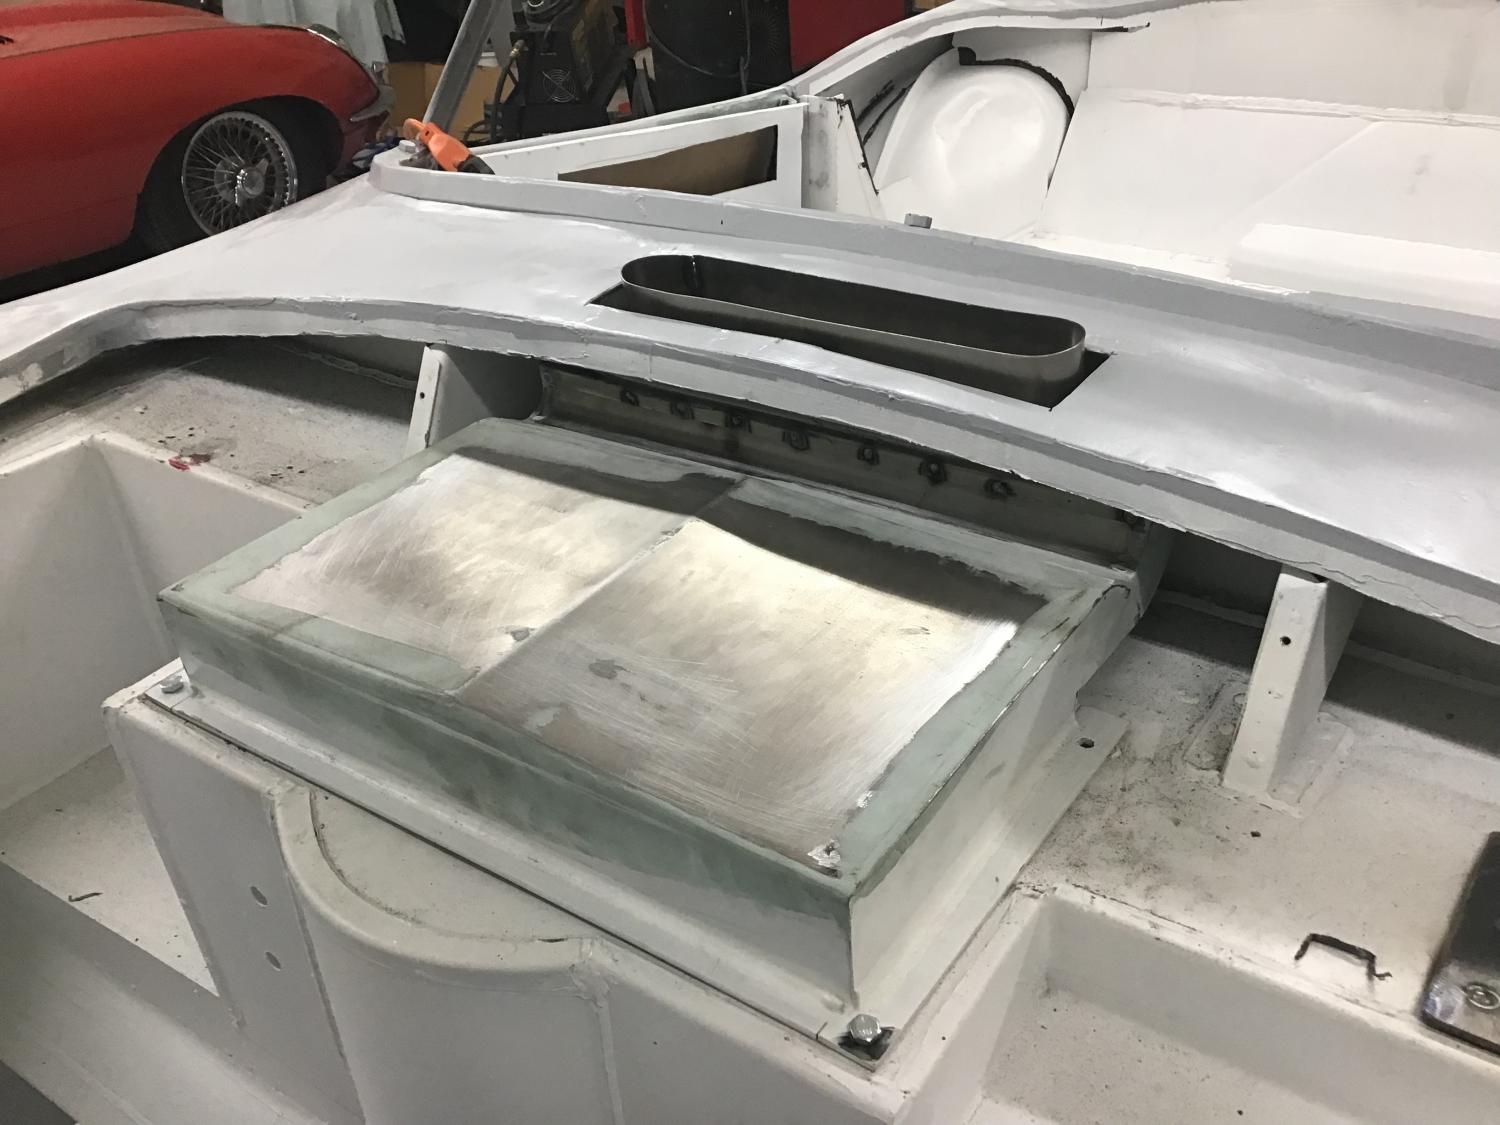
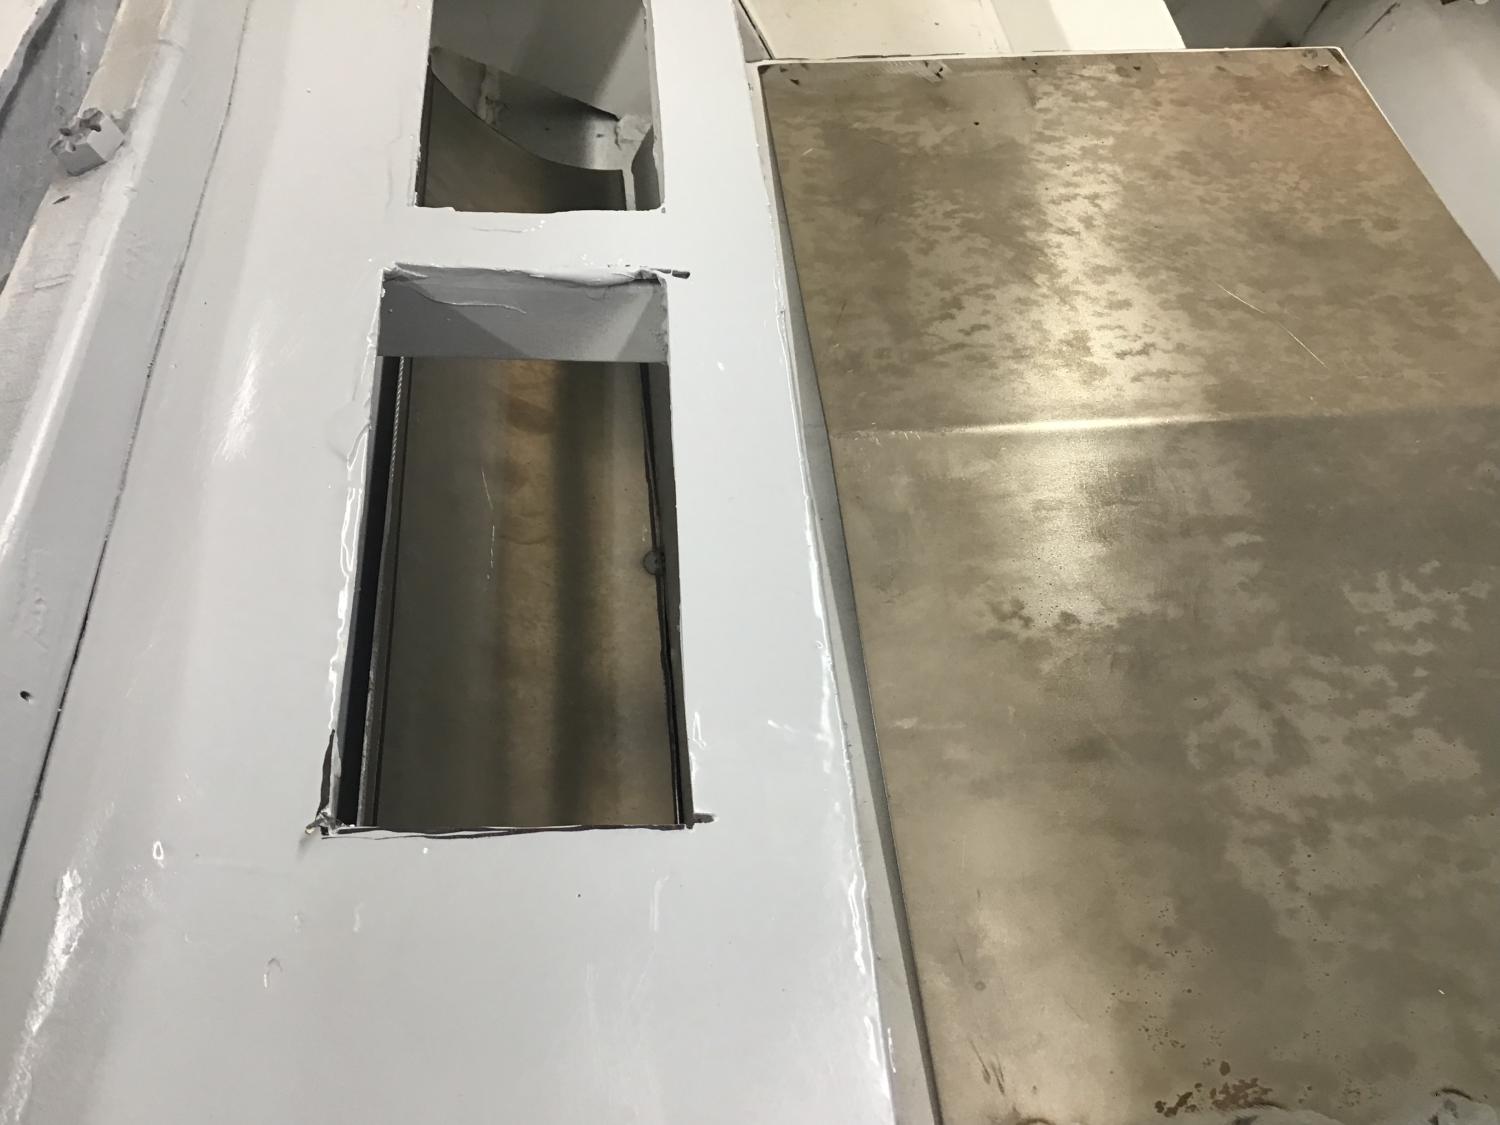
After I got the plenum all assembled, I then positioned it back on the cowl and figured out the distance between the cowl intake opening and the plenum opening. Theres a gap between the two thats connected by a rubber seal. Also, the intake in the cowl is smaller than the intake on the plenum. This is compensated by a block off plate that covers the remained of the opening on the bottom of the plenum.
So thats the construction of the assembly. Now its onto to making it functional! I know
.whoda thought this much would go into a heater box!
Cheers
Dave