Well once you've spent hundreds (cough cough 1000's ?) of hours getting the body as straight as you can and having it painted what any insane person would do is start sanding it for polishing

Most of us know of the typical flaws of dust, drips, runs, orange peel can be reduced or eliminated with polishing. This clear was applied in two fairly heavy coats, scuffed and allowed to "gas off" for several days then hit with another two heavy coats. With the specific purpose to have good thickness for sanding and polishing. The part I didn't know is, this particular production clear (with surface additive) is not very friendly to sand or polish.
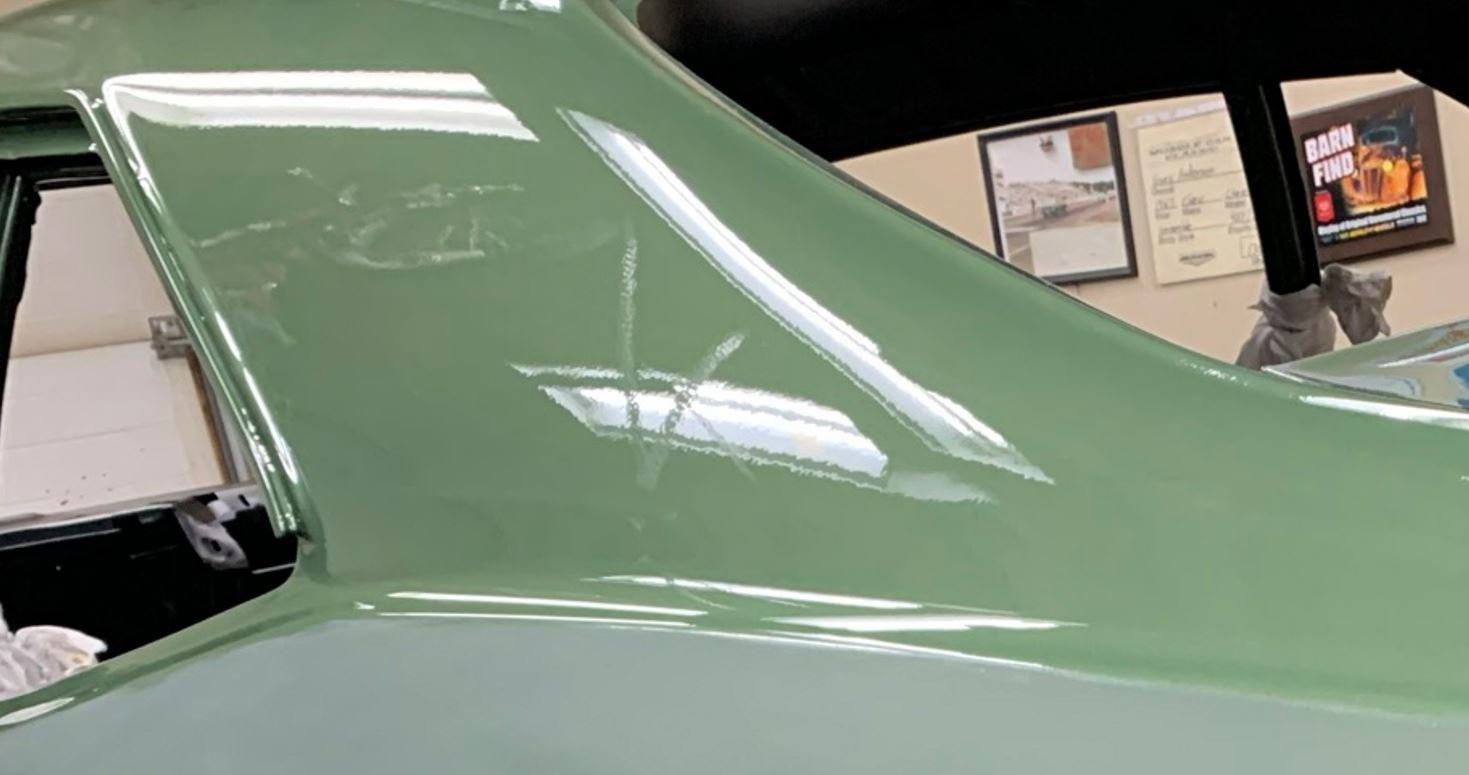
The sail panels had about the worst orange peel, the light reflection and angle here makes it appear exaggerated and very obvious. (I had already started sanding the side of the quarter)
Similar surface finish on the trunk appears much better at this angle of view

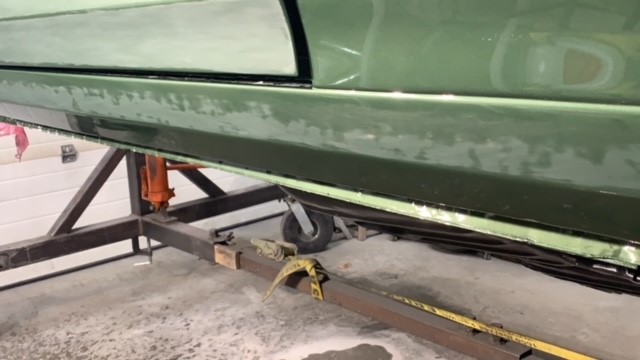
And the lower rocker area... the reflection in the red box area shows the surface imperfections which were pretty consistent on the whole rocker but show up more in the right reflection.

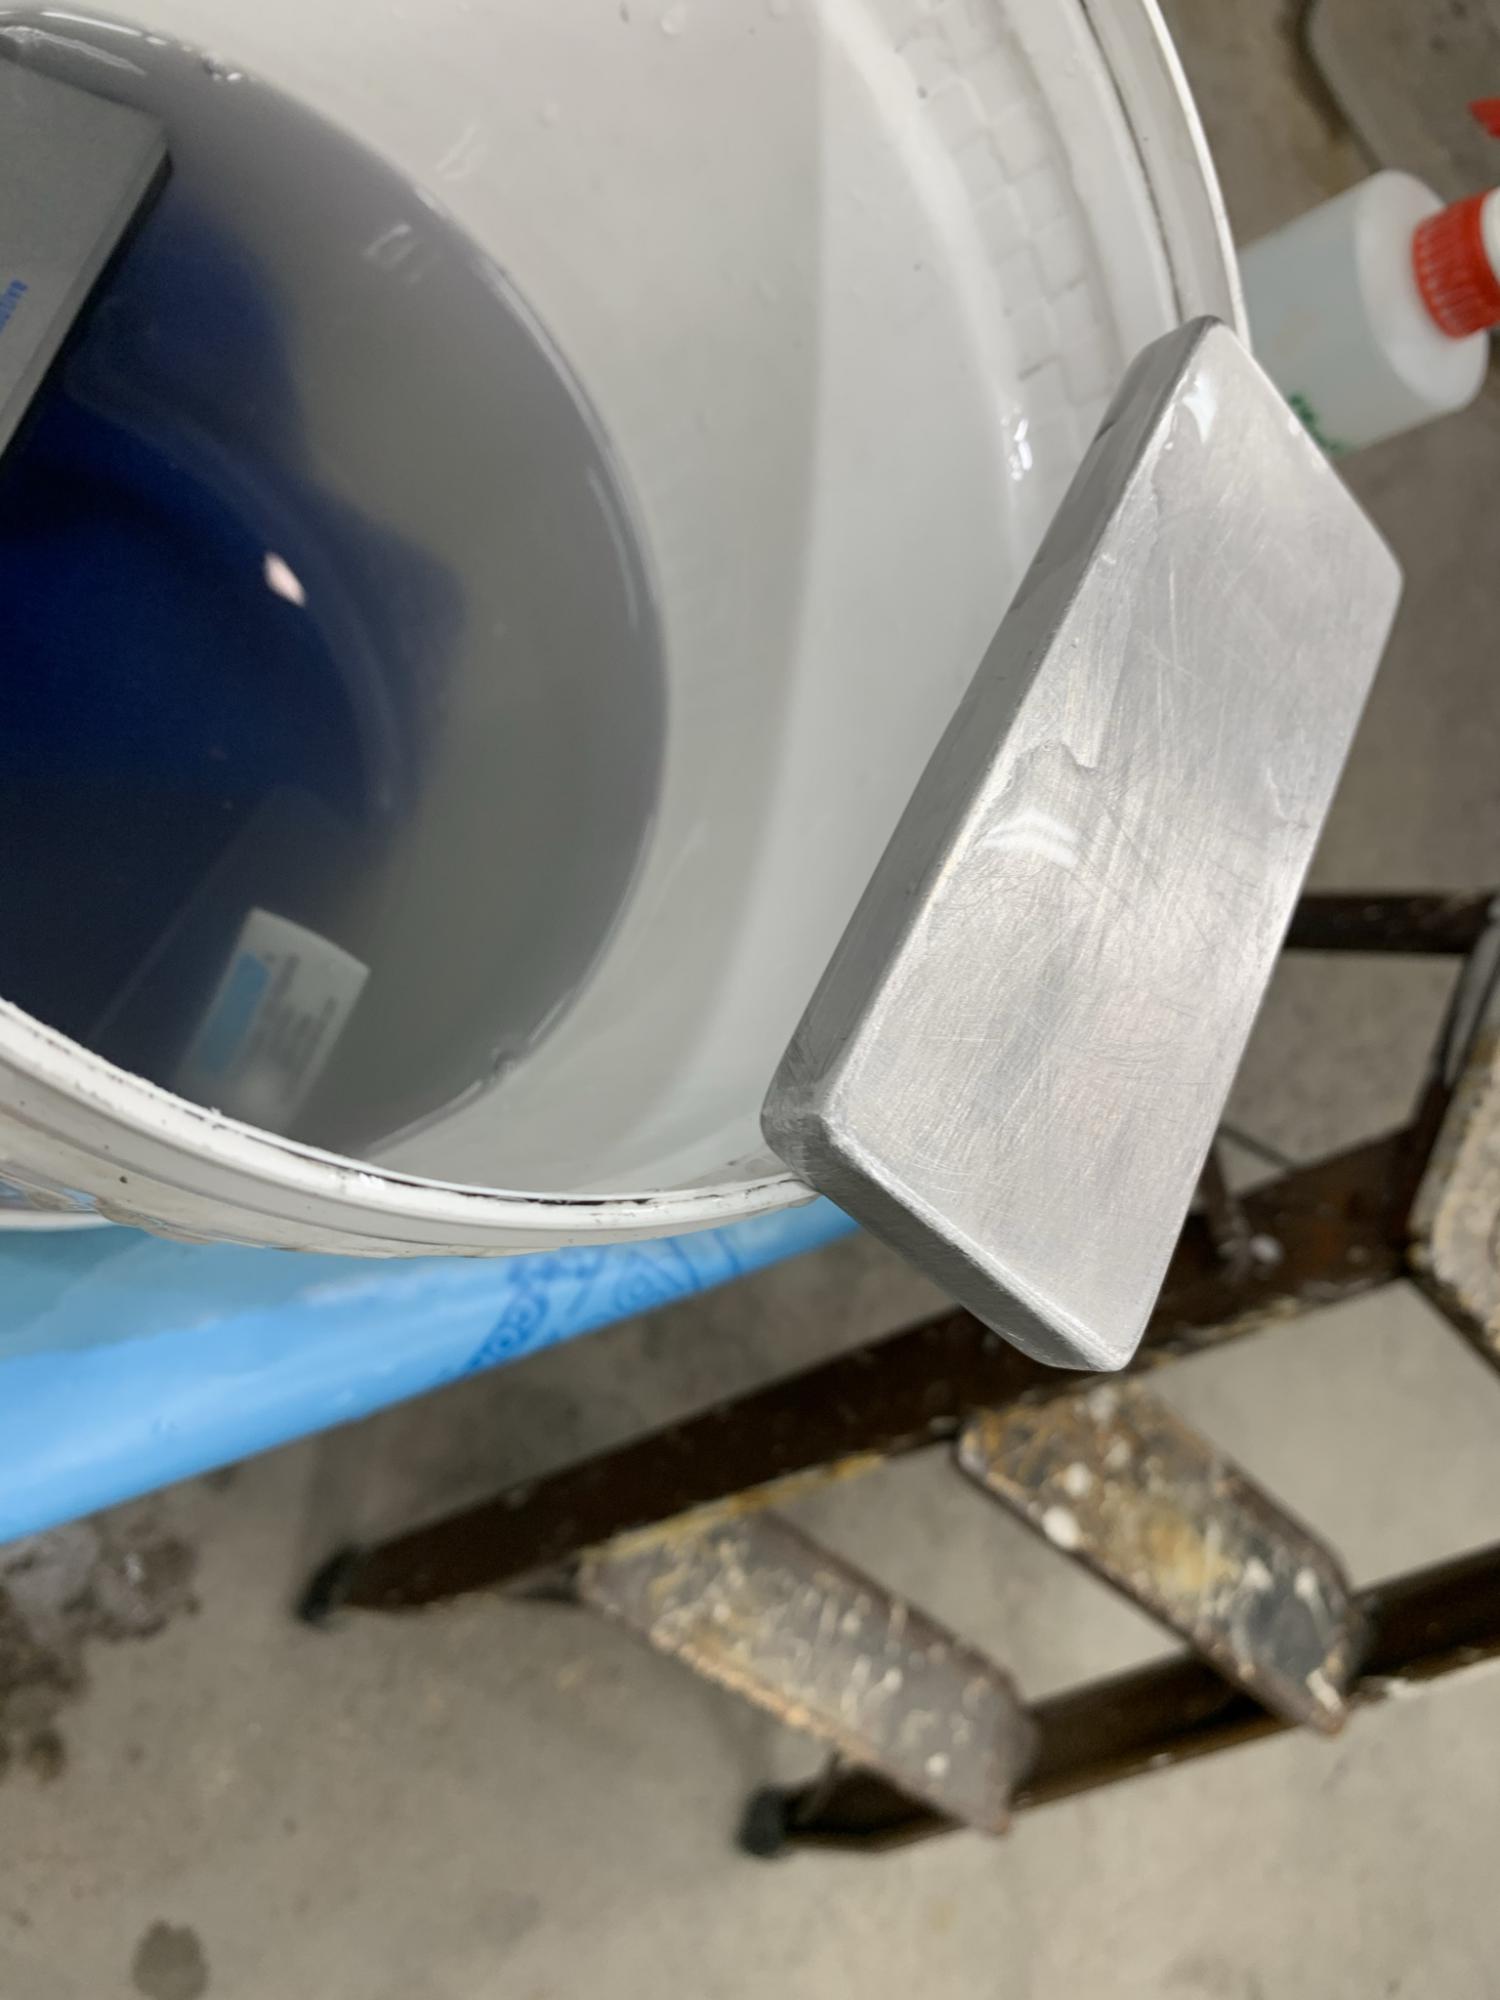
I was STRONGLY advised by the paint shop to not go more aggressive than 1000 grit to start (we'll get back to that later). For most areas I use this aluminum block wrapped with wet/dry paper and use a spray bottle with a couple drops of dish detergent for lubrication and to clear the sanding residue.
This is the same rocker area after a first pass with 1000. You have to make many rounds sanding, wiping and drying off to watch your progess. The high spots show up as dull (sanded) and the low spots remain shiny. You have to be VERY cautious around edges. You can see on the door... I have stayed away from the body line with the coarse paper. The paper will cut aggressively across corners and edges so it is easy to cut through the clear.. then it would require repainting. As soon as you cut through the clear the base color will also require repainting. Experience, experience, experience... I have watched many and learned (and burned though before). You have to be careful and patient with the sanding... it is easy to sand out a low spot if you cheat the paper and dig in an edge of the block. You need to be very consistent with holding the block flat against the surface and checking progress often. You can't see anything when it is all wet. And just like with bodywork the straighter and flatter you get it, the longer it takes to remove material.
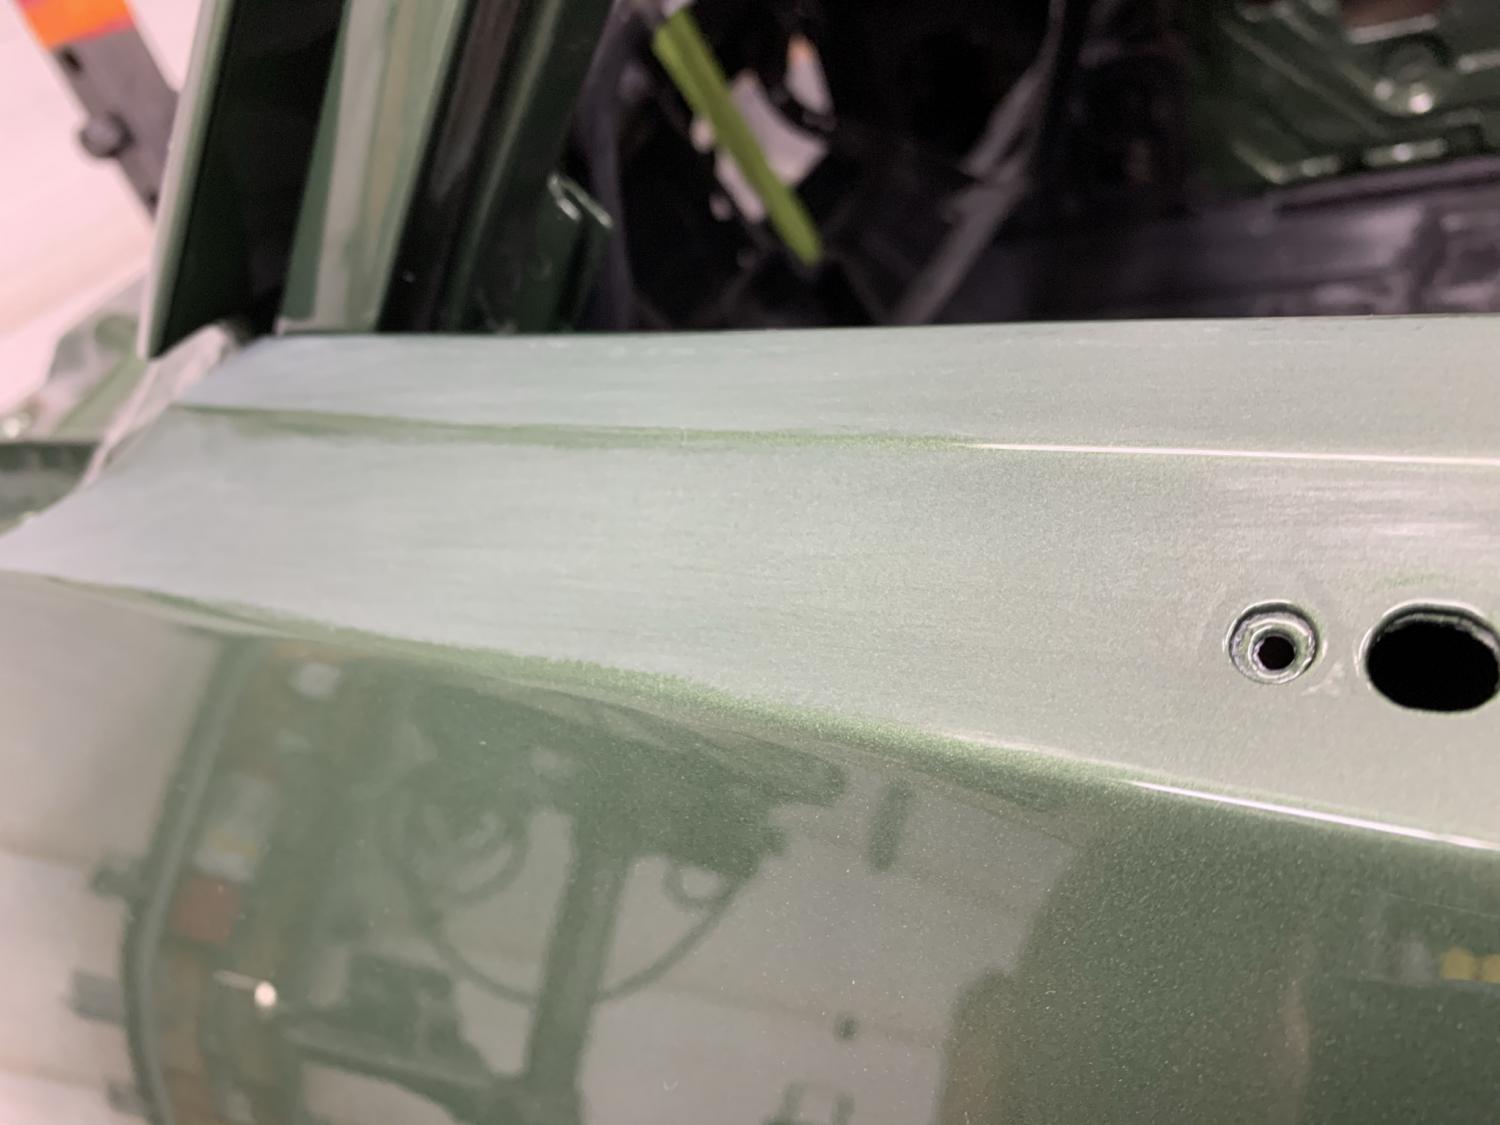
The top of the drivers door had a couple of heavy runs which I first scraped down with the flat (90 degrees to surface) edge of a razor blade.

Then further sanded out.
Picture of the quarter progress.
