You know? I reflect back on the whole build and think to myself, "Self? Wouldn't it be cool to have a few photos of me working on the car?" And then I answer myself with a "Yes...yes it would." And then I realize I do! [img]<<GRAEMLIN_URL>>/biggthumpup.gif[/img] Sort of puts the whole build into a more Quick Pick, 1hr photo, Instant Breakfast, Reality TV world we live in now. I thought putting in the door glass would be another great opportunity to get some action photos. As you recall, the original shattered into a bazillion pieces after some inappropriate persuasion in the front vent window channel. Here's some of my favorties of this monumental occassion.......
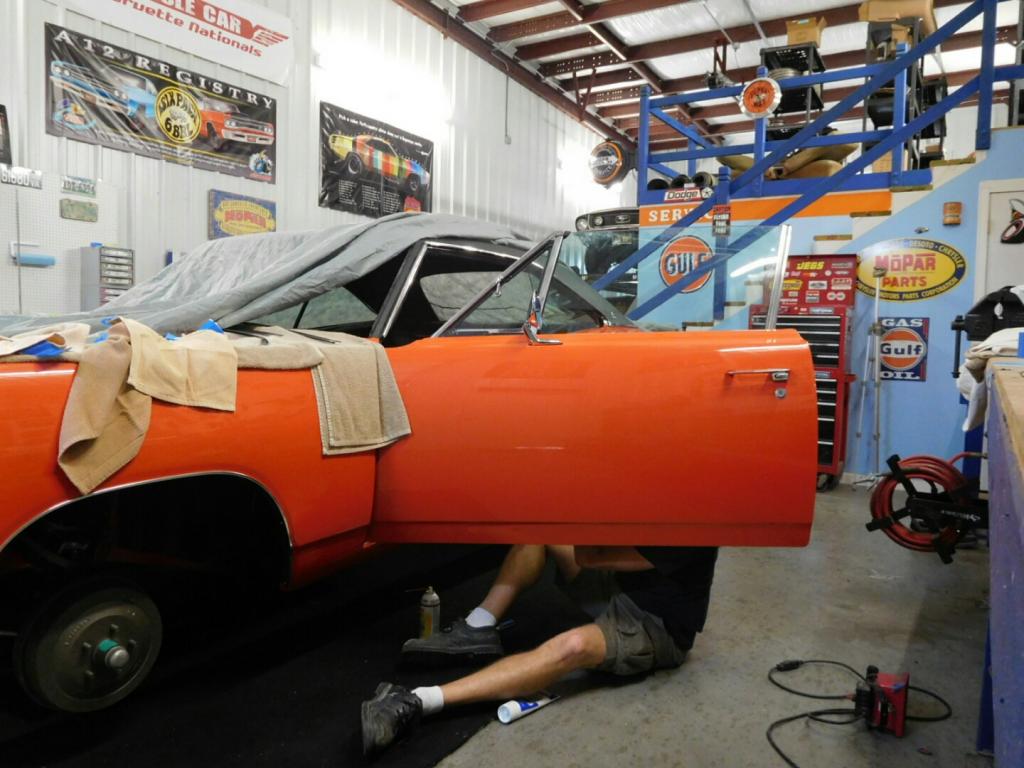
Below is the Taping of the Door.....almost like Taming of the Shrew, but having nothing to do with it. [img]<<GRAEMLIN_URL>>/hmmm.gif[/img]

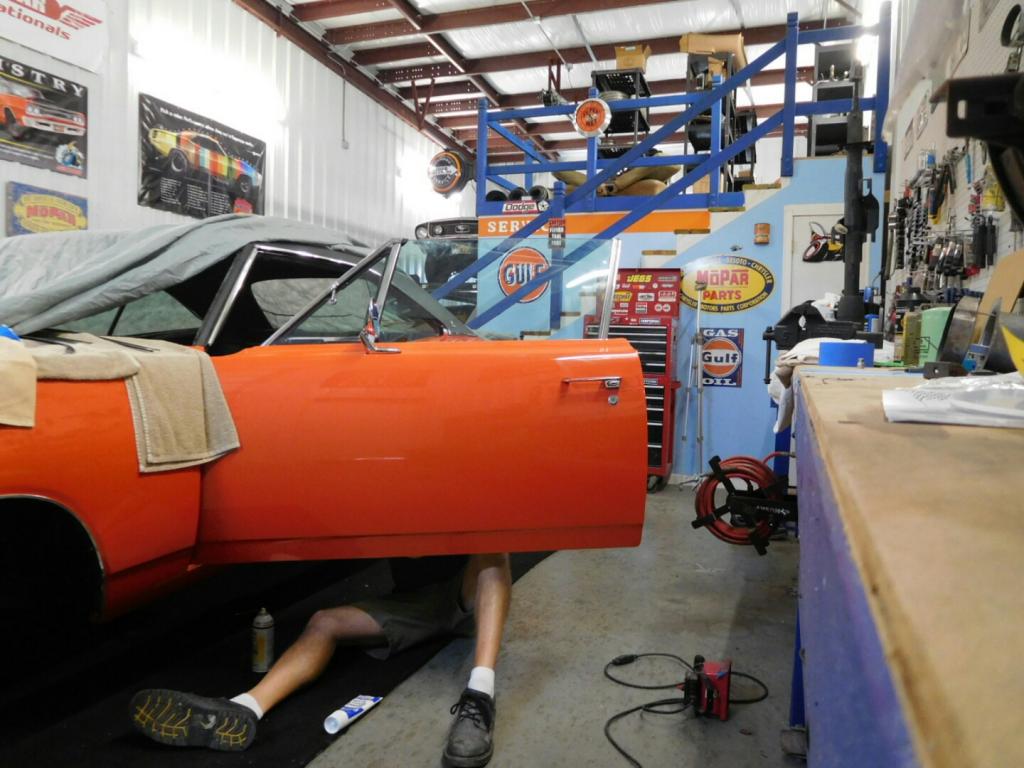
Up next is an action series!! I'll never forget this moment....I was inside the door, connecting up the regulator, and as you can see, it's getting pretty intense!
Oh, and here you can see me adjusting the vent window to set the declination and inclination of the vertical axis....
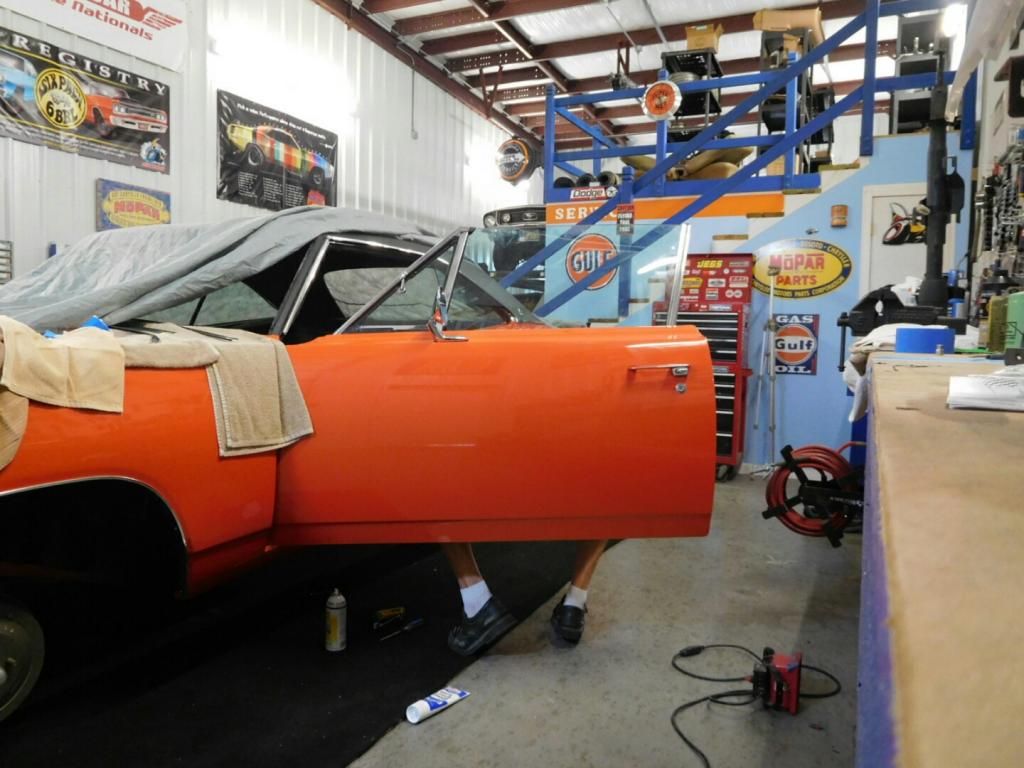
...And a great shot here! So much detail can be seen in this one. I really hope these detailed oriented, step by step instructional, and Assembly Manual-like photos help someone out who's adjusting the door glass. As you can see, it's a tough job. Tough I tells YA!!!!
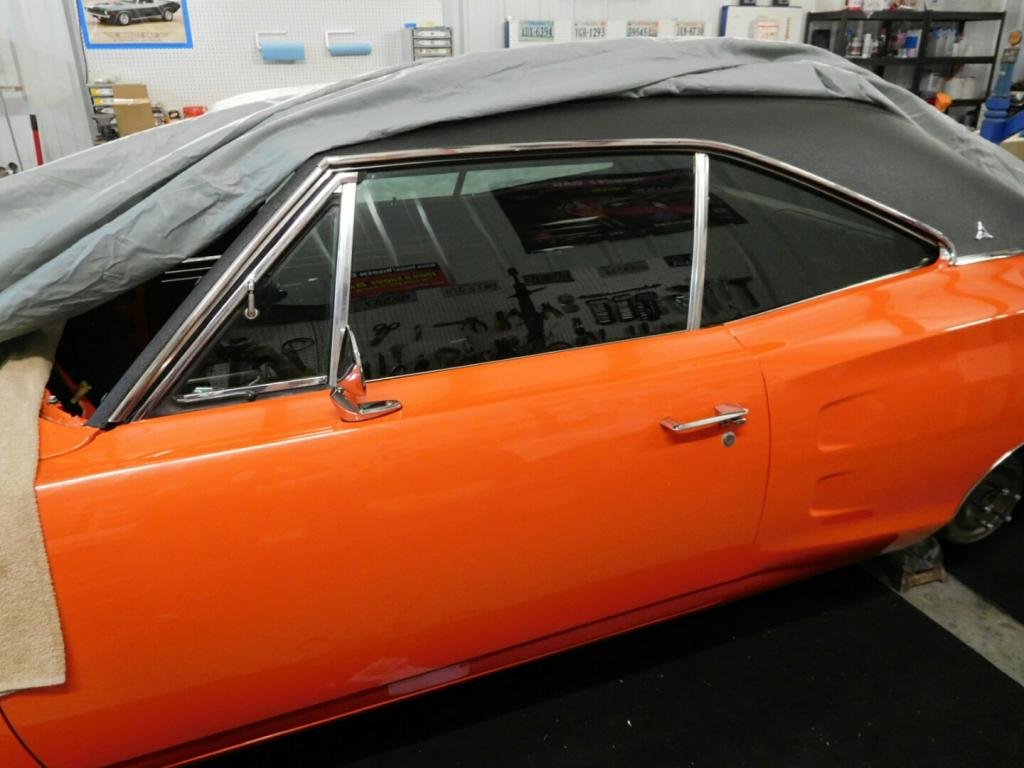
And the result....I'm happy to report the shuts exactly like it did before I tore the car down! And this time, no broken glass [img]<<GRAEMLIN_URL>>/biggthumpup.gif[/img]
Cheers [img]<<GRAEMLIN_URL>>/beers.gif[/img]
Dave